
Anyhow, the principle of drawing a profile is also based on eggs. In this case you again draw an upside down egg but make sure it's a bit more over to one side of the paper. On top of this you draw another egg, exactly (eggzactly? sorry) the same size but horizontally, overlapping with the top of the first egg, with the pointy end sticking out the back. I'll show you what I mean (the first 4 pictures here I've just done quickly, the ones after that were taken during the actual class once I realised that I was quite pleased with how it was coming out and it dawned on me I might want to do a blog post, so that's why the first 4 are a bit different to the rest of them!).
So, draw an upside down egg, slightly off to one side of the paper:

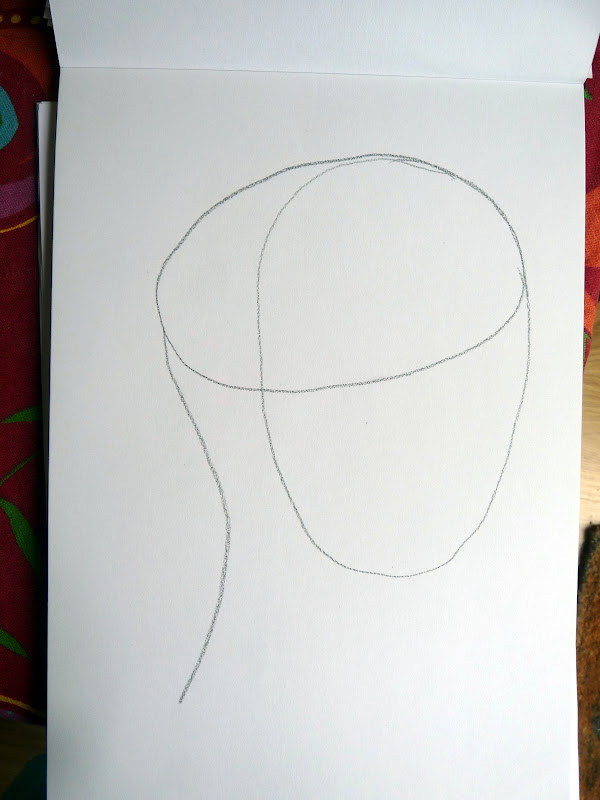
Then draw another egg, horizontally, over the top of that:

Next, draw in the neck coming down from the pointy end of the horizontal egg:
See how it's roughly taking shape? Next you do the same thing as for forward-looking faces. Halfway down the first egg, but on the right hand side and curving, draw a line for where the eye will go. Halfway below that, do the same for the nose and again, below that, for the mouth:

(The rest of the pictures from here on were taken during the class but on my iPhone so there's some vertical lines on some of them from somewhere). So now you start to add more detail, such as the jaw line, eye, nose, chin and mouth:

Then add the ear and eyebrows. I'm starting to darken the lines here, and I adjusted the jawline:

Our tutor wanted us to concentrate next on skin tone - shading - to start indicating contours and shadows, etc., which will make the image more three dimensional. You'll note I've adjusted the jawline yet again:

This is the final version, well, I say 'final' the hair isn't quite finished yet but I think you get the idea. I'm pretty pleased with it, there's a resemblance to 'Colin' but, in fact, his chin sticks further out and his forehead is further back so his actual face is more vertical than what I've drawn but I don't think it's at all bad for a first attempt:


3 comments:
Eggs, huh? Sounds weird, but you've shown that it totally works! I am impressed - not that I'm going to rush out and practice or anything (my artistic talent is limited to stick figures), but I'm actually learning some stuff!
I'm loving your art class posts, just so's you know. :D
So simple, like the previous one, if only you know!
Post a Comment